Grant permissions to users
Permissions allow users access to create, read, and edit items. They are granted at different levels in your environment.
Types of permissions | Level | Notes |
|---|---|---|
Roles and access permissions | Organization level | Org-level permissions are passed on to lower levels. |
Project admin permissions | Project level | |
Access permissions | Container level and above |
Tip
Organization admin permissions can’t be overridden. In releases prior to Jama Connect 8.62, there was the appearance that you could control an organization admin’s access. However, that user could still see all projects and content, and if they wanted they could give themselves access. The addition of User, Process, and Add project roles decreases the need for a large group of organization admins. No updates or overrides that you created in the past have been removed, so we recommend that you remove them as your organization adopts these new admin roles.
You can create new permissions for a user or group as well as modify existing permissions.
To grant permissions to users:
Log in to Jama Connect as the root user or as an organization admin.
Select Admin > Permissions.
In the Project Selector on the left, choose the level where you want to access permissions.
Organization (System)
Individual project
Container
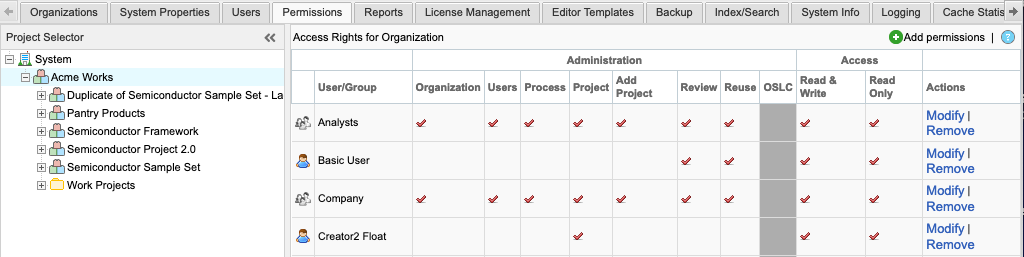
The main page displays current permissions.
To change existing permissions for a user or group:
Select Modify in the row of the user or group you want to change, select the permissions you want to include, and deselect what you don't want to include.
Select Remove in the row of the user or group where you want to delete permissions.
To add permissions for a user or group:
Select Add permissions in the top right.
In the Add permissions page that opens, select Add user or Add group.
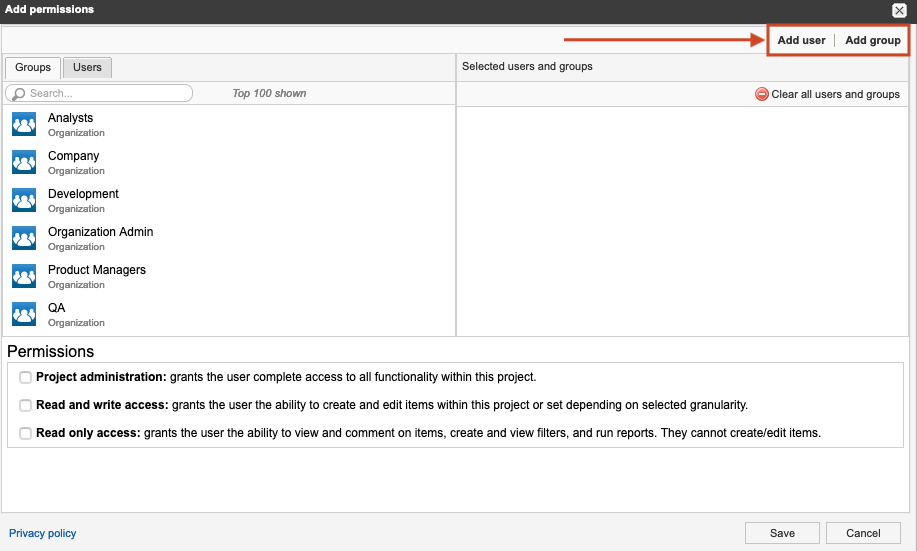
Existing user or group — Select a user or group from the list on the left, then under Permissions, select the role (access permissions) for that user or group.
New user or group — Select New user or New group in the top right corner of the page. Then under Permissions, select the role or access permissions for that user or group.
Select Save.
Your changes are saved.