Install Jama Connect and KOTS (internet)
The installation script and the installation wizard guide you through the process of installing the KOTS-required software and Jama Connect, then configuring the KOTS Admin Console.
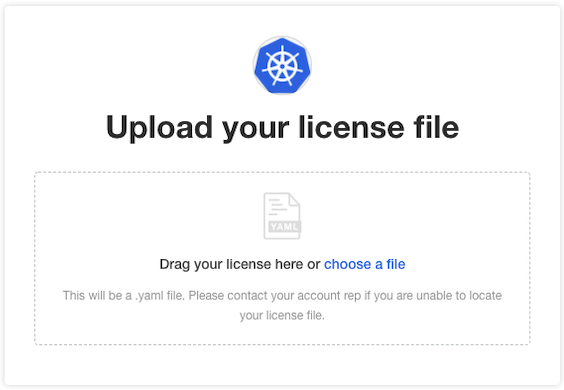
The license file is included in the Welcome email you received from Jama Software.
To install Jama Connect and KOTS on an internet-enabled server:
Open the Welcome email from Jama Connect, then save the attached license file on your local system.
Run the command on the application server provisioned for Jama Connect:
curl -sSL https://kurl.sh/jama-k8s-standardkots | sudo bash
Note
kURL bundles and installs host packages without relying on external package repositories, except for on Red Hat Enterprise Linux 9 and Ubuntu 24. If kURL is unable to install a required host package, the output notifies you. It this occurs, manually install the missing package and then re-run the kURL installer to proceed.
After the command runs, save the KOTS admin URL, password, and other configuration options for future reference. This is the only time these credentials appear, so make sure you save them.
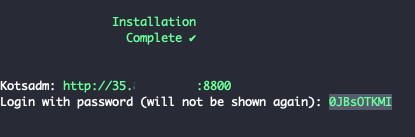
In a supported browser, enter the URL for Kotsadm, which was generated when you installed KOTS.
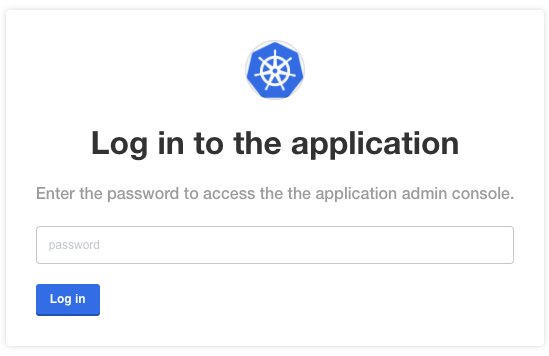
Log in to the KOTS Admin Console using the password you just saved.
Select the appropriate option:
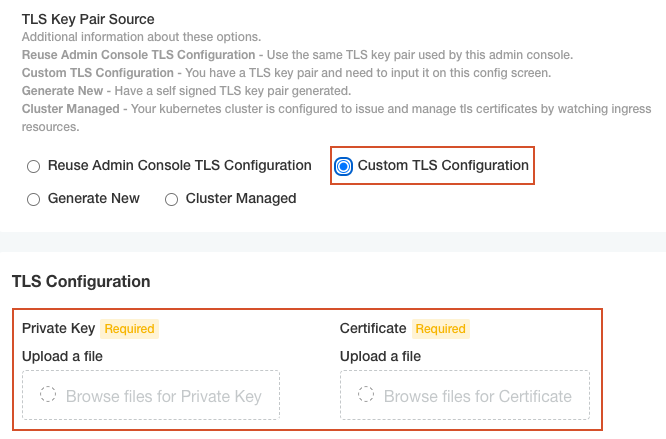
Have key/certificate — Select Choose file under Private key and Certificate, navigate to the files and select them, then select Upload & Continue.
No key/certificate — Select Self-Signed Cert.
Upload the license file that you saved on your local system.
Configure the settings for each group, as needed. Scroll down to see each group of settings.
Database Settings — Select your database type (MySQL or Microsoft SQL Server), then use the information from Preparing your database server to complete the settings.

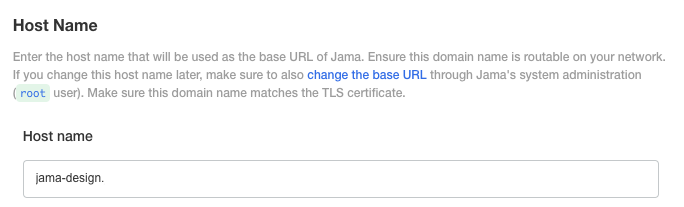
Host Name — Enter the base URL for Jama Connect. Ensure this domain name is routable on your network.
TLS Key Pair Source — (Optional) If you have a custom key and certificate for the host name, select Custom TLS Configuration. In the TLS Configuration section, upload the key and certificate.
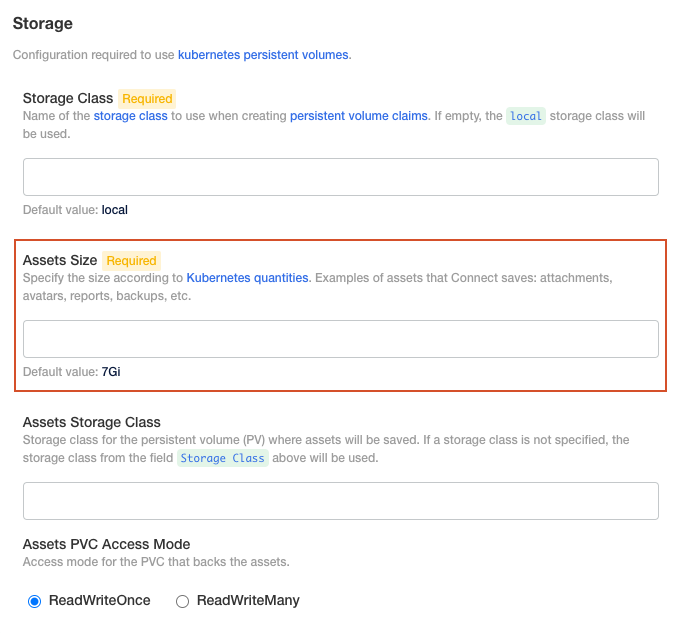
Assets Size — Enter the estimated size of the assets that you are planning to store in Jama Connect.
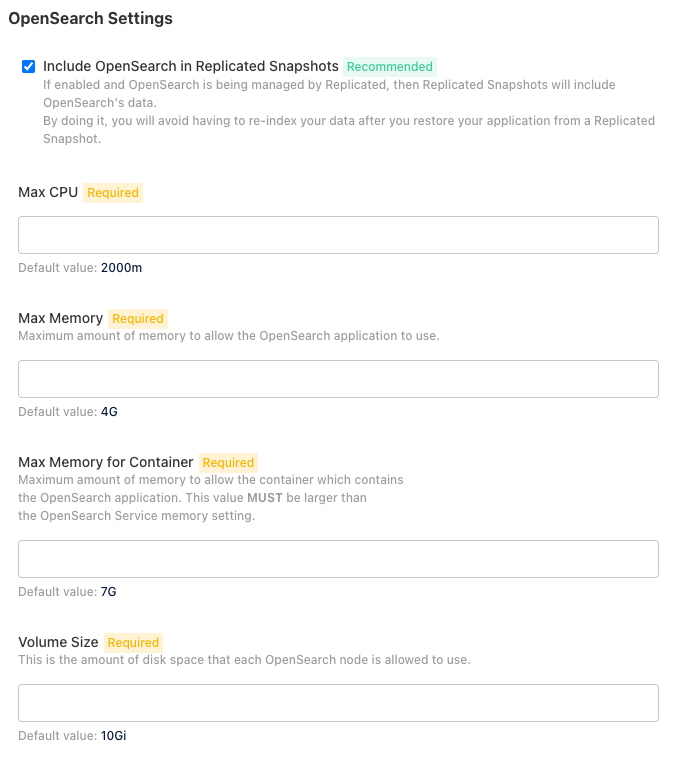
OpenSearch Settings > Volume Size — Enter the amount of disk space that each OpenSearch node is allowed to use.
Tenant Manager Settings — Enable this setting for optimal performance. Disable this setting if background operations are required before you provision the tenant (for example, when reusing traditional Replicated or using remote OpenSearch).
The Tenant Manager provisions, restores, upgrades, and sets licenses during application startup.

(Optional) From the Config tab in the KOTS Admin Console, follow the steps to configure KOTS to save tenant assets in the Amazon EFS.
Important
To use Ubuntu 22.04, you must update the memory or OpenSearch fails. From the KOTS Admin Console, adjust the memory settings so that Maximum Memory is 6G and Maximum Memory for Container is 8G.
Scroll to the bottom of the page and select Continue.
The system performs the Preflight checks.
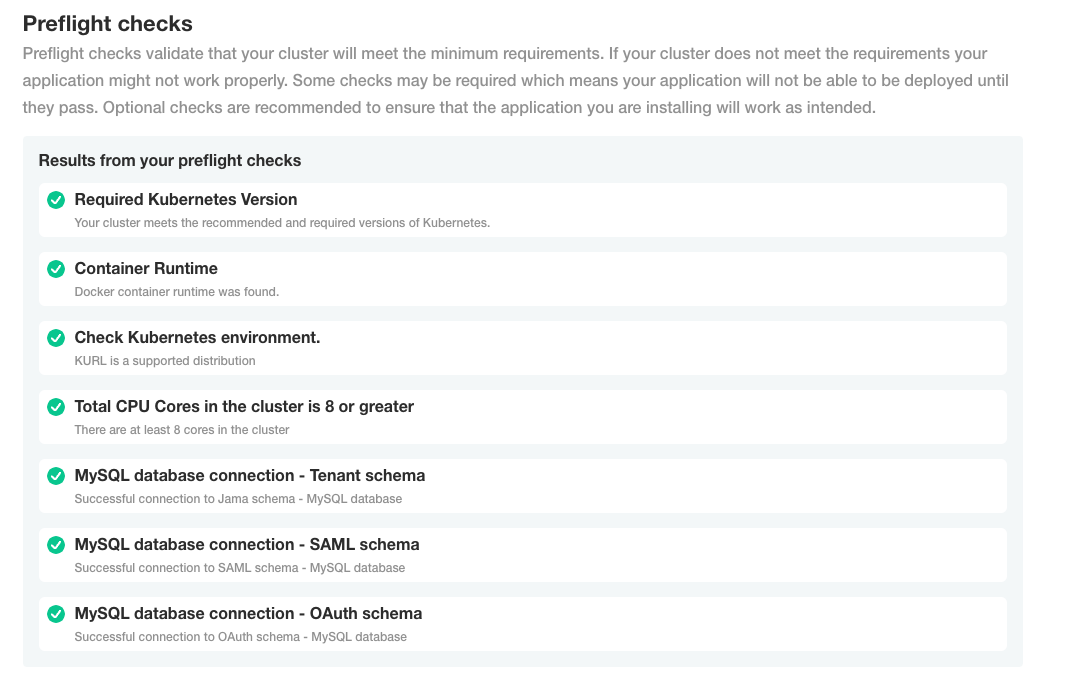
From the Preflight checks screen, select Continue to open the KOTS Admin Console.
The process can take up to an hour. When the system is available, the status changes to Ready.

Log in to Jama Connect as root using the hostname configured for Jama Connect.
Jama Connect and KOTS are now successfully installed.
Important
Before you allow your users access to Jama Connect, you must provision a Jama Connect dataset. If you need the link to the dataset, contact your Customer Success Manager.